Map
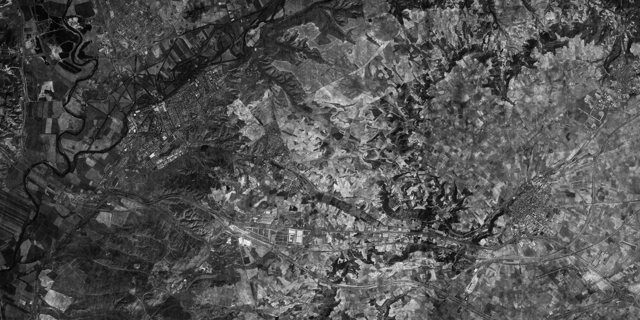
How to read it
Use the Aranjuez map to line up the mission marker with the correct reference area before touching the turret controls. This page is most useful as a visual companion to the firing protocol: confirm the map, then move through shell, powder, bearing, and elevation in order.
Mission use
This map is linked to Calibration Fire and Fire & Light. If a shot correction feels inconsistent, return to the map first and make sure you are still solving against the intended marker.